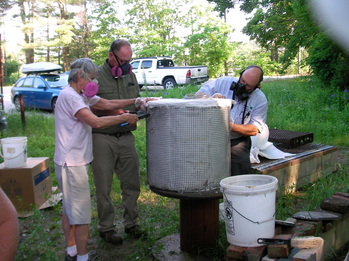
In May of 2013, I naively volunteered to help bring raku back to our studio. This began by pulling our raku kiln out of the storage shed and figuring out what we would need to make a firing happen. Little did I know that mice had made their home in the kiln and it became a project necessitating the wearing of respirators. I wish I had taken a picture of the kiln before we removed all of the "crap" but, I suspect, you might be pleased that I didn't. A picture of people wearing respirators will have to suffice.
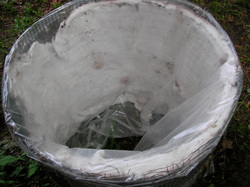
This is what the kiln looked like after we removed the icky stuff. It was definitely not suitable to keep in the heat we would need to fire our pots. So we ordered more fiber blanket and got back to work another day.
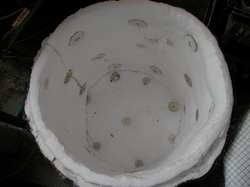
Look how great it looked when we finished replacing the blanket!
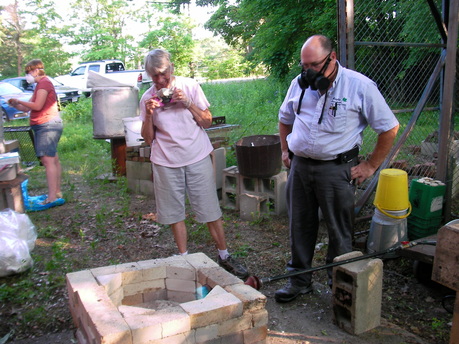
The most exciting part was testing the propane. We had a lot of help from Glen. It's a good thing. He likes to keep us safe.
After getting everything situated, we picked a firing date and got to work throwing pots and mixing new glazes! I had fun thinking about the forms I would like to try.
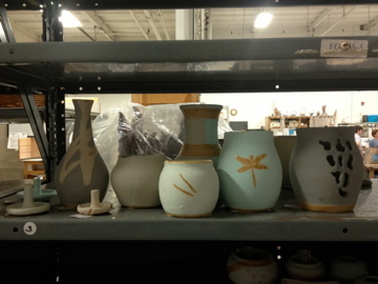
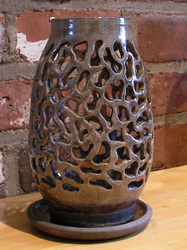
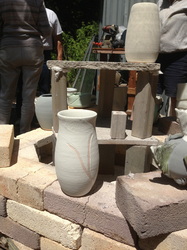
Here they are all glazed and waiting for the big day. I was brave when I decided to try a carved piece for one of my firsts. Because the pots go through tremendous thermal shock, the chance for breakage is always worrisome.
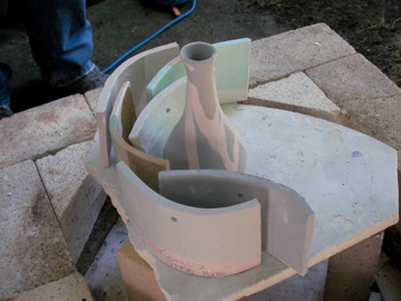
My vase got in the first firing!!
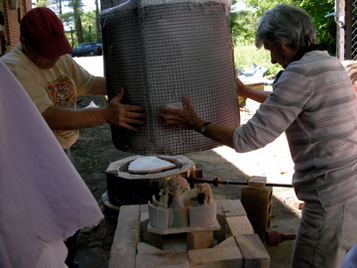
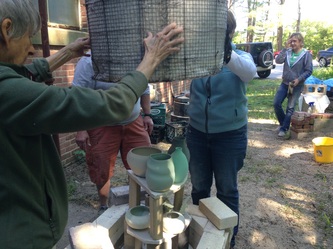
Carefully lowering the top!
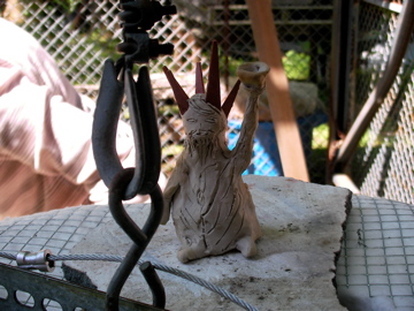
The ever important kiln god sat on top to bring us good karma.
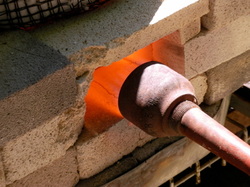
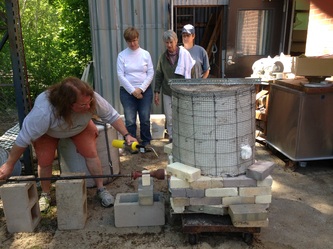
Ignition!
Time to wait for the pots to get red hot.
Time to wait for the pots to get red hot.
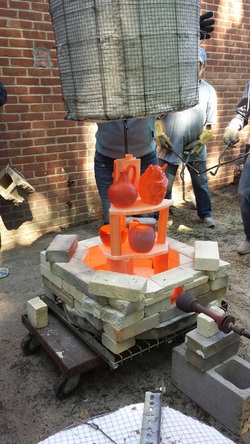
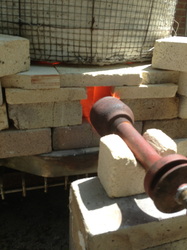
When the kiln top gets lifted the pieces are RED HOT! (these pieces are from a firing at a later date. I can't believe I did not get a red hot picture the first time I did raku)
I was told to have no expectations. Raku is very unpredictable because there are so many factors that can result in failures, breakage, or just plain blah pots.
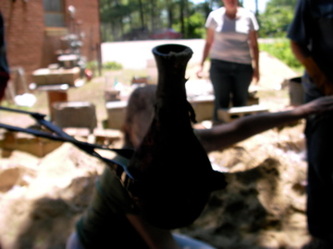
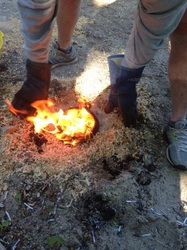
My vase came out of the kiln and was taken to the pit where it was laid in a bed of sawdust and paper and burst into flames. Then it was covered with an inverted garbage can and I had to wait.
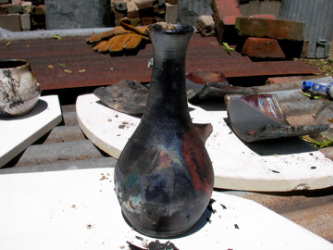
Imagine my glee when it was removed from the pit and it looked like this! It was covered with soot and ashes but I could see a hint of the beauty that lay underneath.
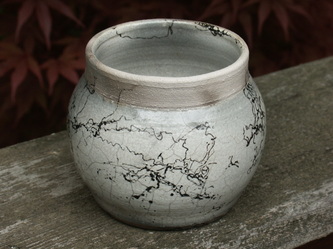
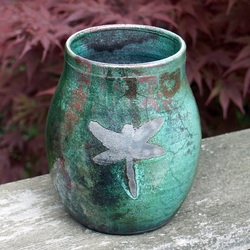
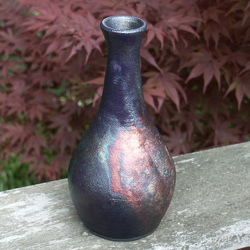
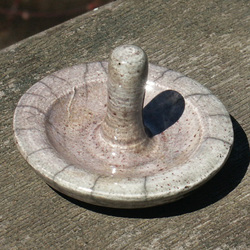
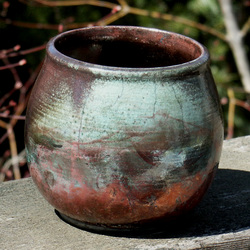
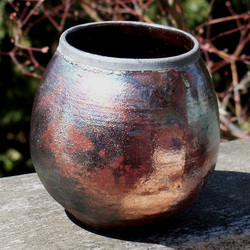
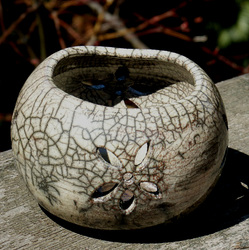
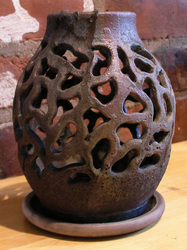
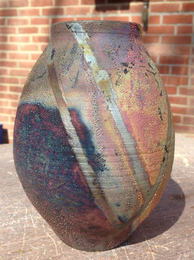
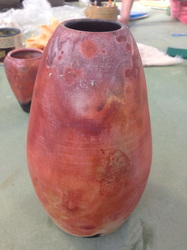
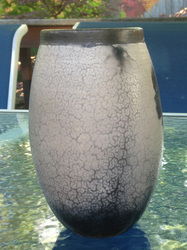
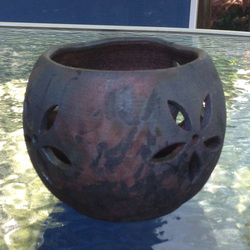
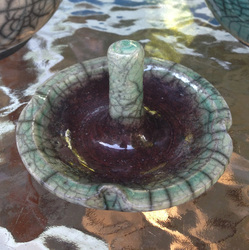
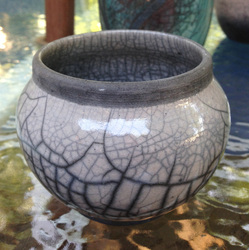
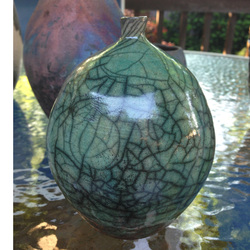
I got lots of great pots! I was thrilled, especially since I expected to like none of my pots! Here's a little gallery of the goodies:
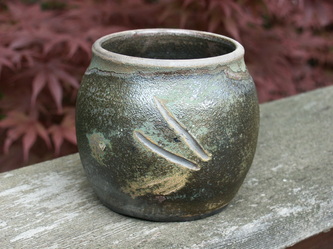
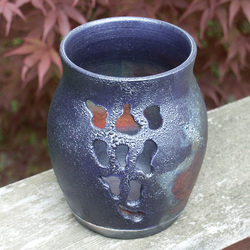
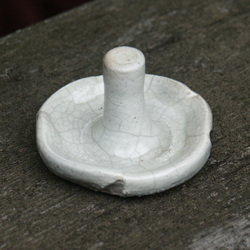
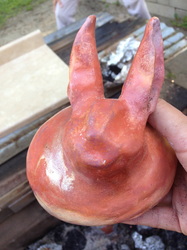
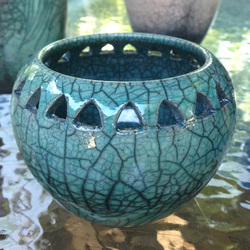
Then we did it all again in April 2014. Here is a gallery of some of my pieces from that firing. I got even more brave with my carving. We had some new glazes that one of our members brought back from a workshop at Snow Farm but they did not turn out as expected:
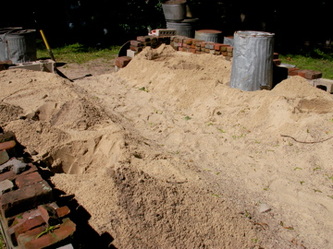
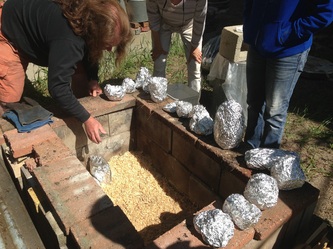
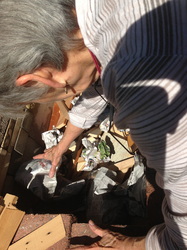
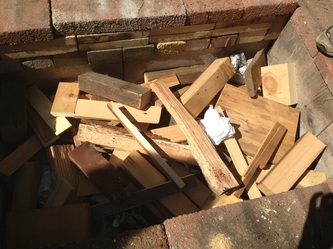
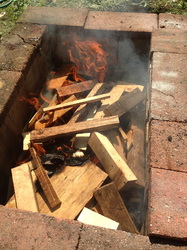
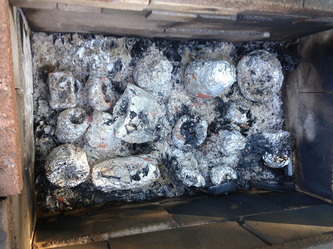
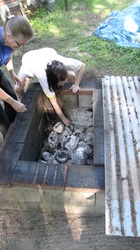
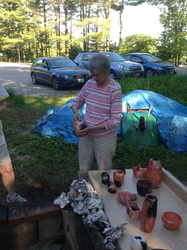
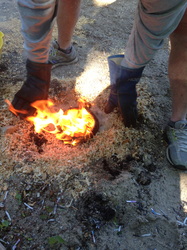
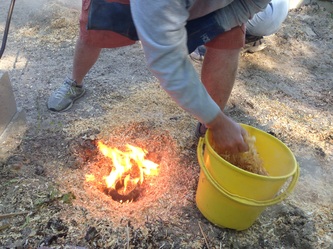
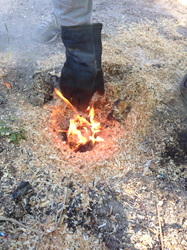
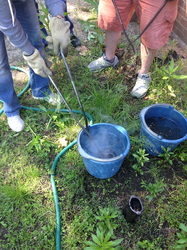
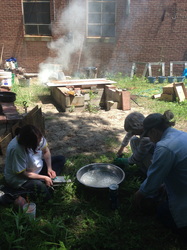
Though we were getting some good results on our own, one of our members suggested we bring in an expert. She arranged for Bob Green to come for a weekend workshop and share his wisdom, process, and glazes. It was a terrifically exciting and exhausting weekend that left the studio, and most likely the entire neighborhood, reeking of campfire. Bob not only taught us how to get better results with our raku, he helped us to resurrect our pit for a sagger fire!
Bob can be found at www.bobgreenpottery.com
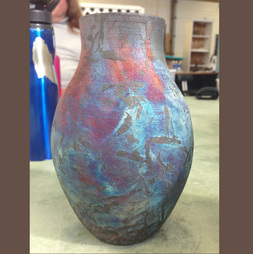
I should do another blog post just about our weekend with Bob but, I have run out of steam so I will end with another gallery of pictures from that tremendous weekend.
I will be participating in another raku firing next weekend where we will test out our ability to retain the info Bob shared with us! May the weather and the kiln god shine down on us.
 RSS Feed